Introduction
Gardeners can grow most annuals, biennials, and many herbaceous perennials from seed. Sowing seed is less expensive than buying established plants and requires little equipment. Vigorous plants started indoors flower sooner than those started outdoors. Sowing seed also allows gardeners to grow varieties that may not be available at local greenhouses or garden centers.

Seeds
To raise quality plants, start with good quality seeds from a reliable seed supplier. Choose varieties that are adapted to your area.
Many new vegetable and flower varieties are hybrids, meaning that they are the result of hand-pollinating two different parent varieties. Hybrid varieties often have more vigor and uniformity, and they may cost more than open-pollinated varieties. Some hybrids offer specific disease resistance or other unique cultural characteristics.
Although some seeds will keep for several years if stored properly, we suggest buying only enough seeds for the current year’s use. Seed suppliers perform germination tests to determine the viability of seeds before sale. Printing on the seed packet usually indicates the date of the germination test and percentage of seed that germinated, as well as any chemical seed treatments that may have been applied, and other essential information.
If you get your seeds well in advance of the actual planting date or are attempting to store surplus seeds, keep them in a cool, dry place.
Laminated foil packets help ensure dry storage. Paper packets are best kept in tightly closed jars or containers and maintained around 40°F with low humidity.
Some gardeners save seeds from their own gardens; however, such seeds may be the result of random pollination by insects or other natural agents and may not produce plants like the parent plants. Those interested in saving seeds should stick with open-pollinated varieties, because seed saved from hybrids does not “breed true”; the next generation won’t look exactly like the original variety.
Factors Affecting Germination
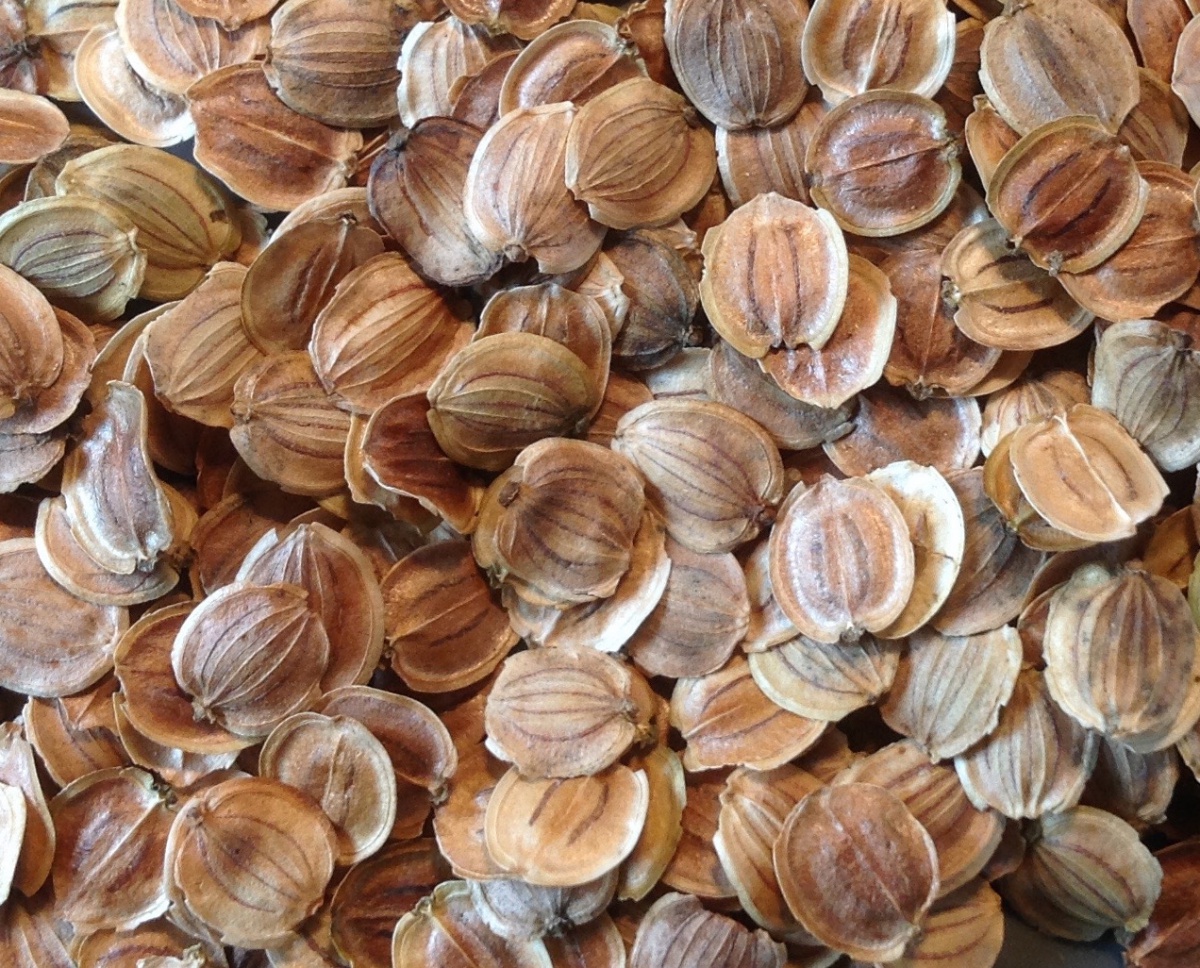
A seed sprouts only if it is viable and if the environment is conducive for germination. Water, oxygen, light, and heat can all affect germination.
Water
The first step in the germination process is absorption of water. A continuous supply of moisture without fluctuation in the growing medium is important to ensure germination.
Light
Light stimulates or inhibits the germination of some seeds. Some crops, including ageratum, begonia, browallia, impatiens, lettuce, and petunia require light to help them germinate. Others, such as calendula, centaurea, annual phlox, verbena and vinca germinate best in the dark. Other plants do not have specific light requirements.
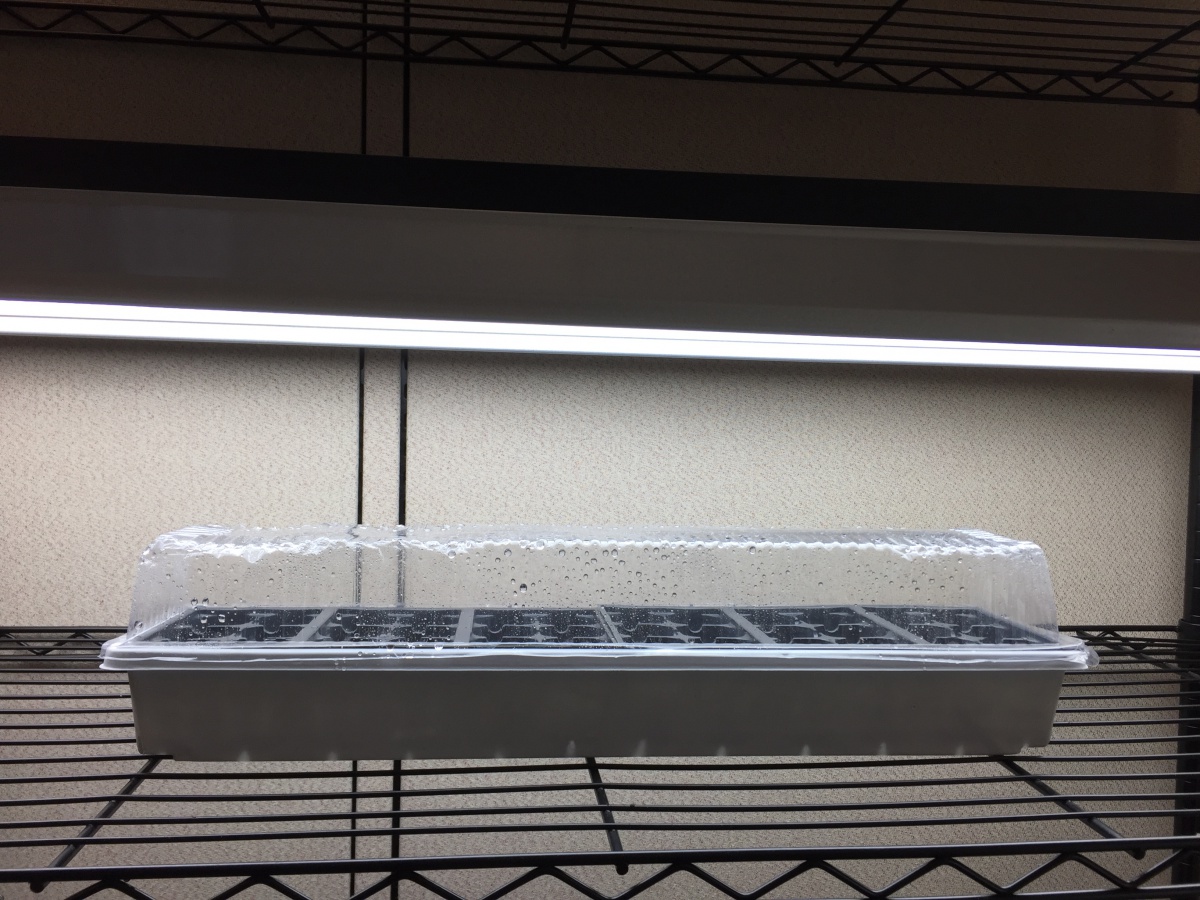
Seed catalogs and packets generally indicate light requirements. When sowing light-requiring seeds, do not bury them. If they are covered at all, cover them lightly with fine peat moss or fine vermiculite to allow some light to reach the seeds. Provide supplemental light by suspending fluorescent lights six to 12 inches above the seeds for 18 hours per day.
Oxygen
All viable seeds breathe. Their respiration rate increases dra- matically during germination; therefore, the growing medium must be loose and well-aerated. If the oxygen supply during germination is limited or reduced (for example, in water-saturated media), germination can be severely retarded or inhibited.
Heat
Most seeds will germinate over a wide range of temperatures, but will have optimum temperatures for germination. For example, tomato seeds will germinate at temperatures between 50°F and 95°F, but the optimum temperature is around 80°F. Generally, a range of 65° to 75°F is best for most plants. This often means the germination flats may have to be placed in special chambers or on radiators, heating cables, or heating mats to maintain ideal temperatures.
Media for Starting Seeds
A good germinating medium should be fine and uniform, well-aerated and loose. It should be free of insects, disease organisms, and weed seeds. It should also have low fertility and be capable of holding and moving moisture by capillary action.
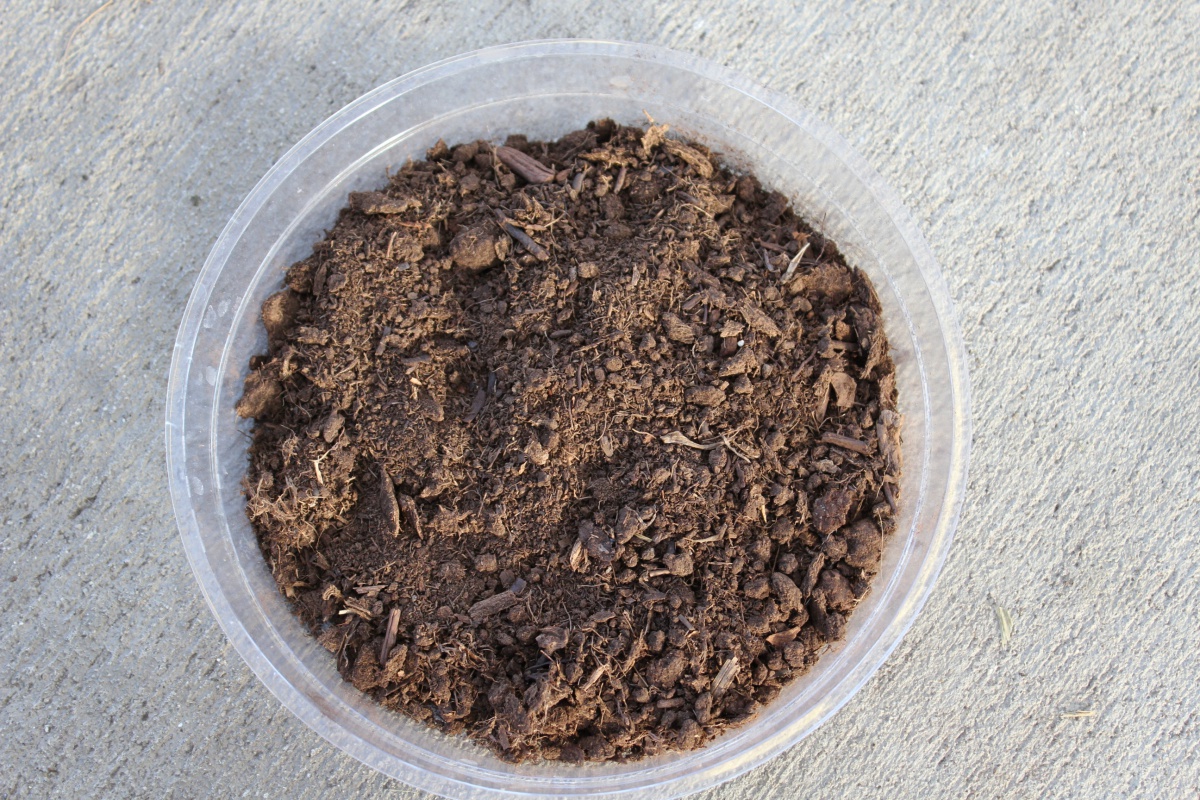
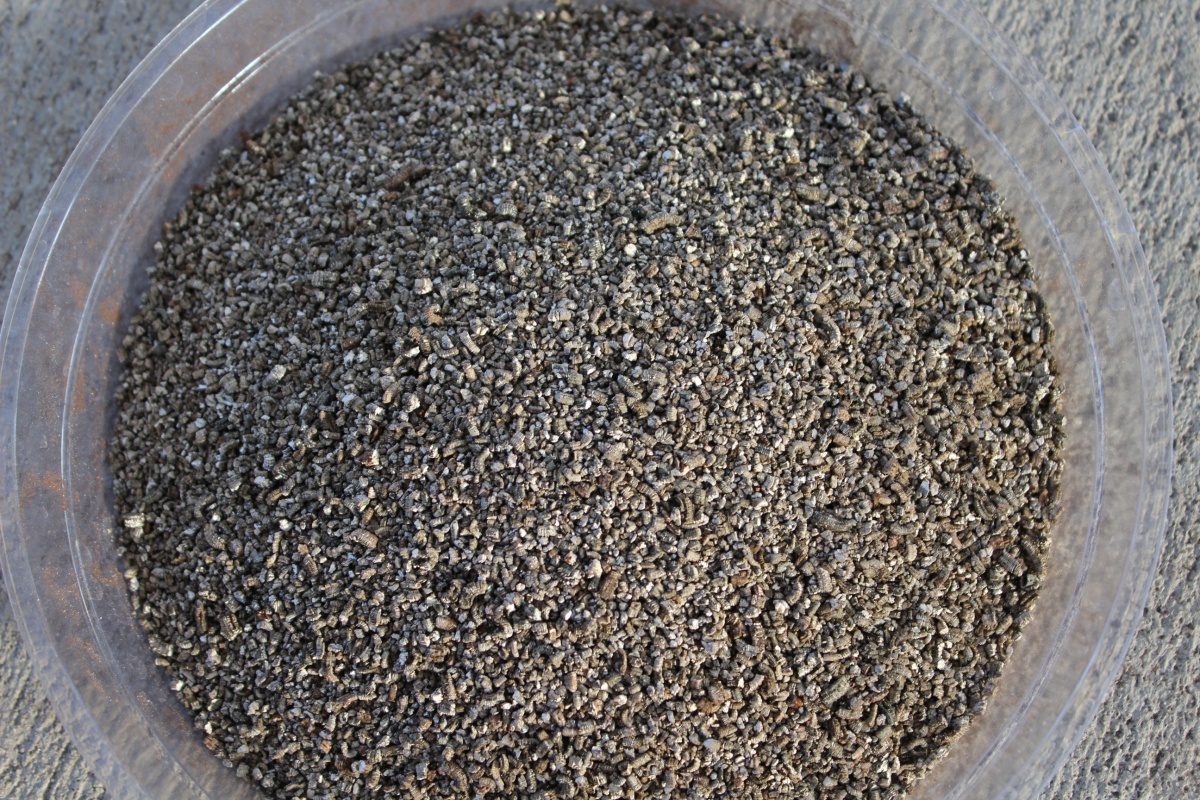
Artificial soil-less mixes offer all these desired qualities. The basic ingredients of such mixes are sphagnum peat moss and vermiculite, both of which are generally free of diseases, weed seeds and insects. The individual ingredients are also readily available, easy to handle, lightweight and produce uniform plant growth. You can make your own mix using this recipe: 4 quarts of shredded sphagnum peat moss, 4 quarts of fine-grade vermiculite, 1 tablespoon of superphosphate (optional), and 2 tablespoons of ground limestone. These mixes have little fertility so seedlings must be watered with a diluted fertilizer solution soon after they emerge.
Containers
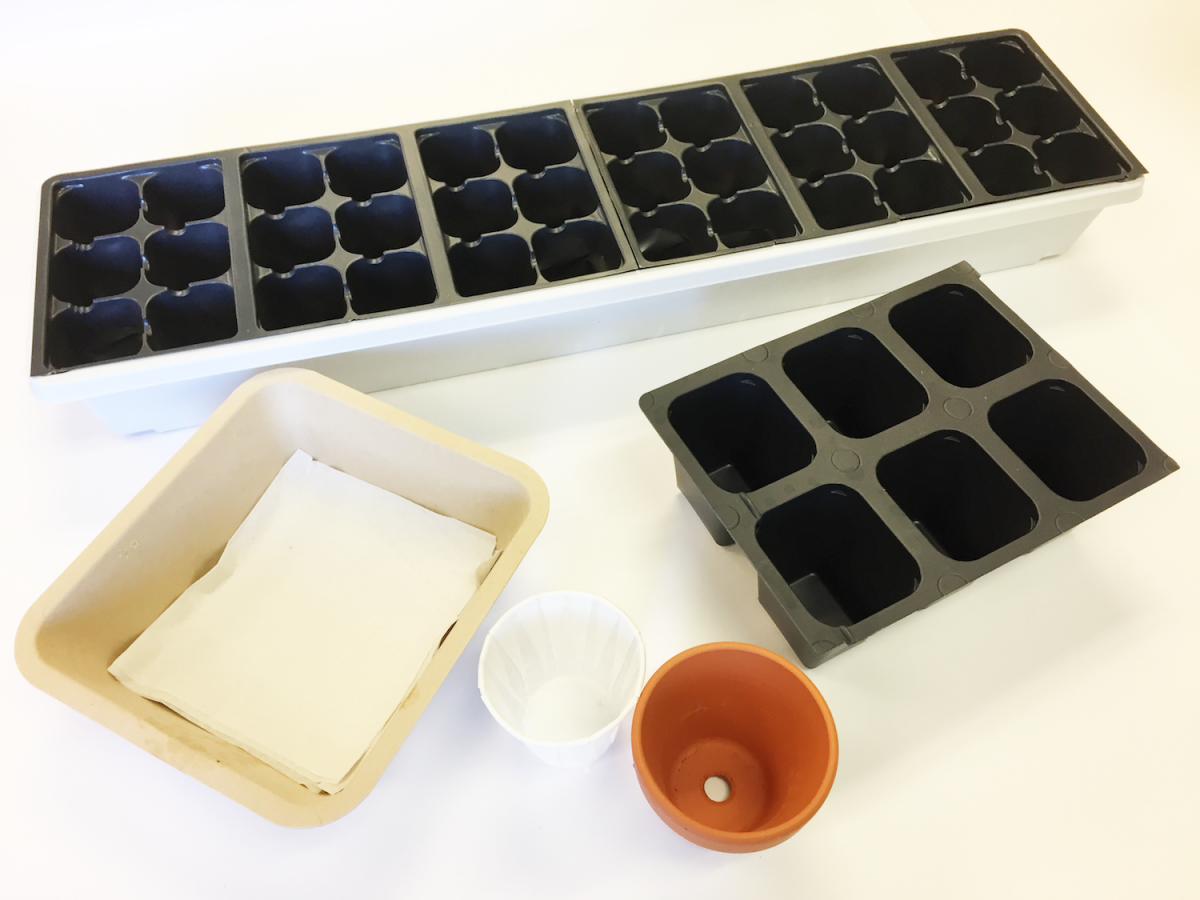
Garden centers sell many different types of wooden or plastic flats, trays, cell-packs, and pots for starting seeds. You can also make your own seed-starting containers by recycling plastic food containers or the bottoms of milk cartons. Make sure to punch or drill a series of holes in the bottom of each planting container to ensure proper drainage.
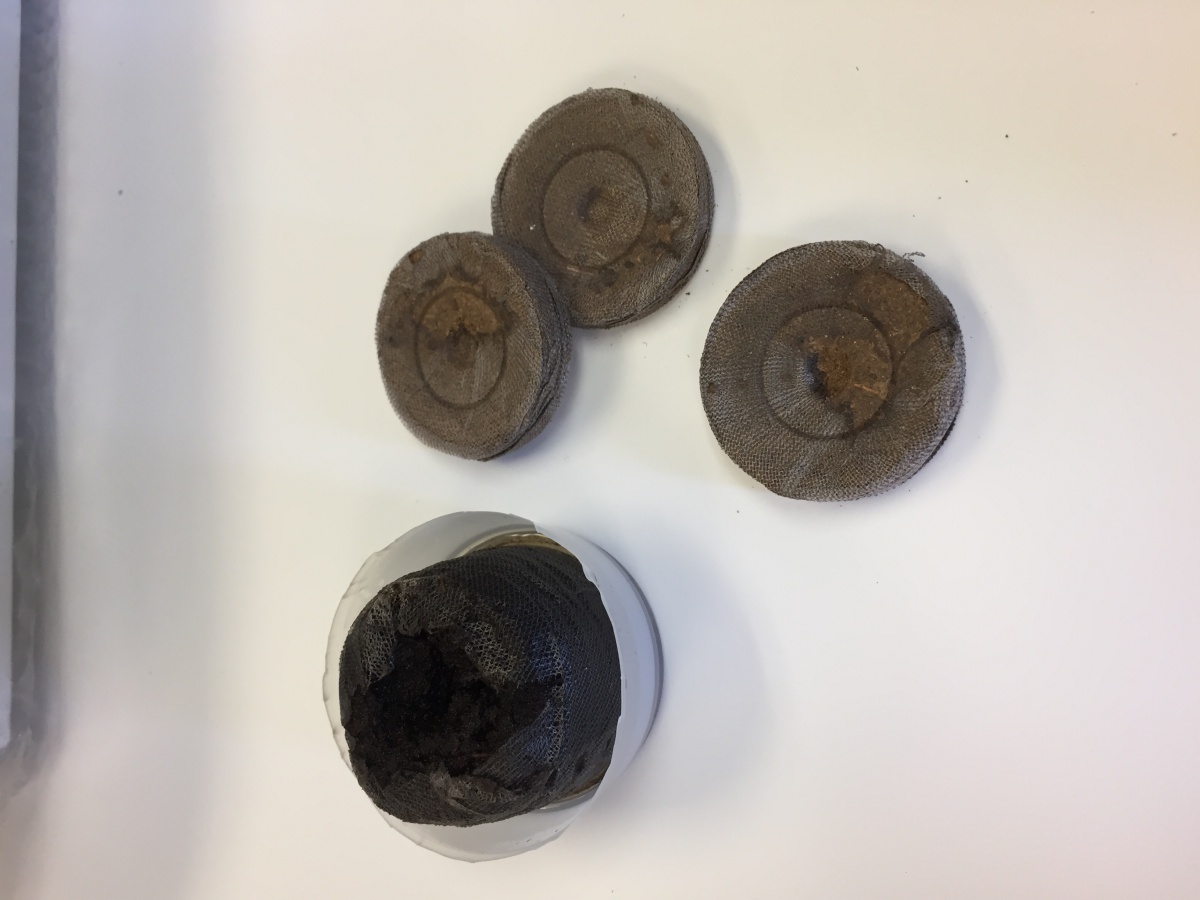
Garden centers also sell many types of peat pellets and peat or fiber-based pots or blocks, where the container itself becomes part of the growing medium. These can reduce the risk of root injury when transplanting, and may be useful for those plants with delicate root systems.
Seeding
The proper time for sowing seeds depends upon when plants may safely be transplanted outdoors in your area. This period may range from four to 12 weeks before transplanting, depending upon the speed of germination, the rate of growth, and the cultural conditions provided. See Timing Vegetable Transplants for basic guidelines on when to seed vegetable transplants in New Hampshire. A common mistake is to sow the seeds too early and then attempt to hold seedlings back under poor light or temperature conditions. This results in tall, weak, and often stressed plants which do not perform well in the garden.
After selecting your planting container and moistening the growing medium you have chosen, fill the container to within 3/4 inch from the top with the medium. For very small seeds, top off the medium with at least 1/4 inch of a fine, screened mix or a layer of vermiculite.
Firm the medium with your fingers or a block of wood to provide a uniform, flat surface. If you are sowing in trays or flats, for medium to large seeds, make furrows about one to two inches apart and 1/8 to 1/4 of an inch deep across the surface of the container. Sowing in rows provides better light and air movement to help prevent fungal diseases, and they are also easier to label and to handle at transplanting time than those that were broadcast. Sow the seeds thinly and uniformly in the rows by gently tapping the packet of seed as you move it along the row. Lightly cover the seeds with dry vermiculite or sifted medium. Most seeds should be planted at a depth of about twice their diameter.
Do not cover extremely tiny seed such as petunia, begonia, and snapdragon; simply press them into the medium or water them in with a fine mist spray.
Larger seeds are frequently sown into some sort of a small container or cell pack, two or three to a unit, eliminating the need for early transplanting. Thin after germination, allowing the strongest seedling to grow.
Watering
After sowing seeds, wet the planting mix, ideally by using a fine mist spray. Avoid splashing or excessive flooding which might displace small seeds. Use care when hand-watering newly-planted seed trays to prevent overwatering or drying out. Uniform moisture is the key to good germination and growth.
One way to achieve consistent moisture during germination is to use a clear plastic bag into which the whole flat or pot is slipped after the initial watering. Some seedling trays come with clear plastic dome lids for this purpose, and panes of glass would also work. If you use this approach, keep the plastic at least 1 1/2 inches from the soil and keep the trays out of direct sunlight or the temperature may rise to the point where the seeds will be killed. Be sure to remove the cover as soon as the first seedling leaves appear.
Germinating and Establishing Seedlings
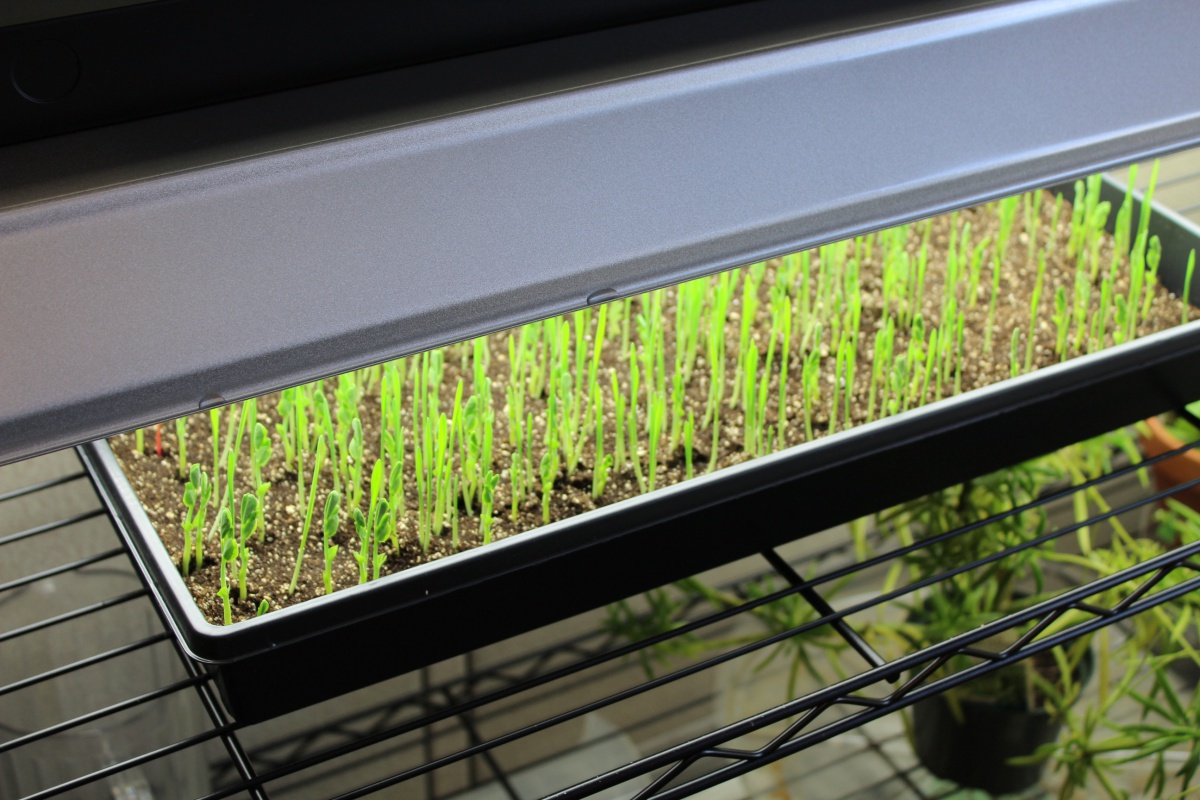
After germination, seedlings must receive bright light. Insufficient light causes seedlings to “stretch”, or elongate, as they search for light. In general, more light is better. Sunlight intensity increases throughout the spring; the later in the spring, the more light your seedlings will receive.
If a large, bright, south-facing window is not available, place the seedlings under a fluorescent light. “Shop lights” suspended from chains screwed into the ceiling are an inexpensive solution. Use two 40-watt, cool white or full-spectrum fluorescent tubes. Position the plants six inches from the tubes and keep the lights on about 16 hours each day.
After seedlings are well-established, move the flats to a light, airy, cooler location, say at a 55° to 60°F at night and 65° to 70°F in the daytime. This will prevent soft, leggy growth.
Transplanting and Handling
If the plants have not been seeded in individualized containers they must be transplanted to give them proper growing space. One of the most common mistakes made by plant growers is leaving the seedlings in the seed flat too long so they get stunted or too tall and “leggy.” Transplant young seedlings while they are quite small. The ideal time to transplant is when the first true leaves appear between the cotyledons, which are sometimes called “seed” leaves.
To transplant, carefully dig up the small plants with a knife or wooden pot ladle. Let the group of seedlings fall apart and pick out individual plants. Gently ease them apart in small groups this will make it easier to separate individual plants. Avoid tearing roots in the process. Handle small seedlings by their leaves, not their delicate stems. Punch a hole in the medium into which the seedling will be put at the same depth it was growing in the seed flat. Small plants or slow growers may be placed one inch apart and rapid-growing, large seedlings about two inches apart. After planting, firm the soil and water gently. Protect newly transplanted seedlings from excessive amounts of direct sunlight or direct heat sources for a few days after transplanting.
After transplanting, seedlings need nutrients. Some commercial soil- less mixes have fertilizer already added. Many compost-based potting mixes often provide enough fertility to keep seedlings healthy until seedling root systems fill the pot entirely, at which point they need to be repotted in a larger pot with more media. If you are using a mix without fertilizers, you will need to add supplemental nutrients. To fertilize, use a soluble house plant fertilizer with the dilution recommended by the manufacturer weekly after the seedlings germinate. Remember that young seedlings are easily damaged by too much fertilizer, especially if they are under any moisture stress.
Ideally, seedlings should be dark green and sturdy. Symptoms of nutrient deficiencies include pale yellow foliage, purpling of leaves that are not supposed to be purple, and/or bright yellow-green veins. These signs are an indication that you should use a higher rate of fertilizer or fertilize more frequently.
Most plants transplant well, though some require very careful handling because of delicate root systems. Some plants that should never be transplanted are root crops (carrots, parsnips) whose taproot will be damaged by transplanting. These are generally directly seeded outdoors.
Hardening Plants
Hardening is the process of acclimating plants so that they can withstand the changes in environmental conditions that occur when they are moved from a protected environment (greenhouse or home) to the cold-frame, the field, or the garden. The outdoor environment, especially early in the season, presents several stresses for plants: wind, temperature extremes, lower relative humidity, and drastic changes in watering practices and light quality compared to what they experienced as seedlings. These stresses may stunt plants or even kill them. Hardening exposes plants to these stresses gradually, rather than suddenly. Gradual exposure causes an accumulation of carbohydrates and a thickening of cell walls, strengthening plants.
Start hardening plants one to two weeks before planting in the garden. If possible, plants should be moved to a 45° to 50°F temperature indoors or outdoors in a shady location. A ventilated cold-frame or a shelter covered with shadecloth would work well for this purpose. When first put outdoors, keep plants in the shade but gradually move them into sunlight for short periods each day, gradually increasing the length of exposure. Don’t put tender seedlings outdoors on windy days or when temperatures are below 45°F. Reduce the frequency of watering to slow growth but don’t allow plants to wilt. Even cold-hardy plants will be hurt if exposed to freezing temperatures before they are hardened. After proper hardening, however, they can be planted outdoors and light frosts will not damage them.
Seeds that are Difficult to Germinate
Seed from some plants can have one or more types of dormancy which must be overcome before they will germinate. This is especially common for woody ornamental and native perennial plants. One of the following treatments may be required to promote germination for seeds with dormancy.
Stratification
To stratify seeds, first soak them overnight in water. Drain the seeds and place in moist sand or peat. Alternatively, place the seeds between moistened (but not soaking wet) paper towels, and wrap in plastic wrap. Some seeds will require storage for varying periods at warm temperatures (50° to 80°F), cool temperatures (34° to 50°F), or some combination of the two. These same conditions can often be obtained under natural conditions by the proper timing of outdoor planting. Warm, moist conditions are provided by summer planting while cool, moist conditions are provided by fall planting. Treatment length varies with the type of seed from one to six or more months.
Scarification
Some seeds remain dormant only because they cannot absorb water or because oxygen and other gases are excluded from the inner parts of the seed. Various techniques can be used to disrupt, or scarify, the seed coat to allow penetration of water and exchange of gases. Scarification methods include filing or abrasion with sandpaper, etc., or chemical erosion of the seed coat with concentrated sulfuric acid. Use such devices carefully to avoid seed damage or injury to the applicator. Plant seeds immediately after treatment.
Some specialty seed suppliers offer seed that has already been treated or processed for you. Additional information on germination requirements for specific plants can be found in the following resources, as well as many other plant propagation textbooks and references.
- Harvested Seed: Germination Requirements, Royal Horticultural Society
- Chapter 8. Seed Pretreatment, in A Guide to Forest Seed Handling, FAO 1985
Download the resource for the complete fact sheet.
Learn More By Listening to our Podcast Episode on Starting Seeds
