Winterizing Your Sprayers
-
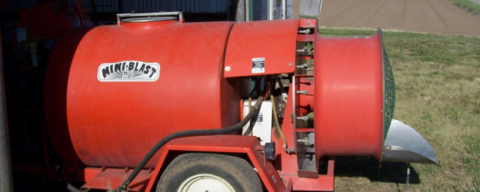
Orchard style sprayer. Photo by David Gent, USDA Ag Service, Bugwood.org

As the nights begin to cool off, it is important to prepare your equipment for storage. While the process of winterizing is straight forward, taking the extra steps now can ensure that you will be ready come spring.
Step One: Put on personal protective equipment
Remember that even pesticide residues and rinsate can cause harm. Always wear eye protection, gloves and waterproof footwear at a minimum. When it comes to pesticide safety, it’s best to be overdressed!
Step Two: Primary cleaning
Start off by circulating a small amount of clean water through the entire sprayer to remove residues. Be sure to spray rinsate out in a proper location in accordance with the pesticide label. Do not spray rinsate near waterbodies or ditches. Once the initial rinse is done, it may be helpful to complete the process again if high levels of residue are present. Next, use a commercial tank cleaning agent or other product in accordance with the manufacture’s recommendations. Pesticide labels often specify proper cleaning products to use. After the whole system has been treated, run some more clean water through to remove any cleaner left behind. Now completely drain the system of all water. Don’t forget to wash the exterior of the unit as well. A soft bristle brush can be used to help loosen any debris. If you decide to use a pressure washer, take care to not damage seals, hoses and diaphragms by blasting these components directly. Now you should have a clean system to work on, but don’t remove that personal protective equipment yet!
Step Three: Component cleaning and inspection
Remove all filters from the sprayer and wash with a mild detergent. This part is best done by washing in a small bucket. Remember to reinstall filter housings. Next, remove and handwash all nozzles and secondary screens. Write down or label where on the manifold each nozzle came from so you can reinstall them in the proper location later on. As you clean the nozzles and filters, take note of any worn components and replace as necessary.
Step Four: Getting ready for storage
Fill the sprayer with the appropriate amount of RV antifreeze. Source a product that has corrosion inhibitors contained within. Run the sprayer section by section until you can confirm antifreeze is flowing from each nozzle opening. Now cap or turn off the nozzles to contain the antifreeze in the system.
Step five: You’re done!
Pull the sprayer into the barn and rest easy knowing that it will be good to go when you need it.
This article is intended to provide general guidance. For specific procedures regarding your piece of equipment refer to the owner’s manual.